

 Peelstack4 min read
How to print on a partly used sheet of labels
Half a sheet of labels left over? Start printing at the first empty label, test on plain paper and use up the whole sheet from Google Sheets.
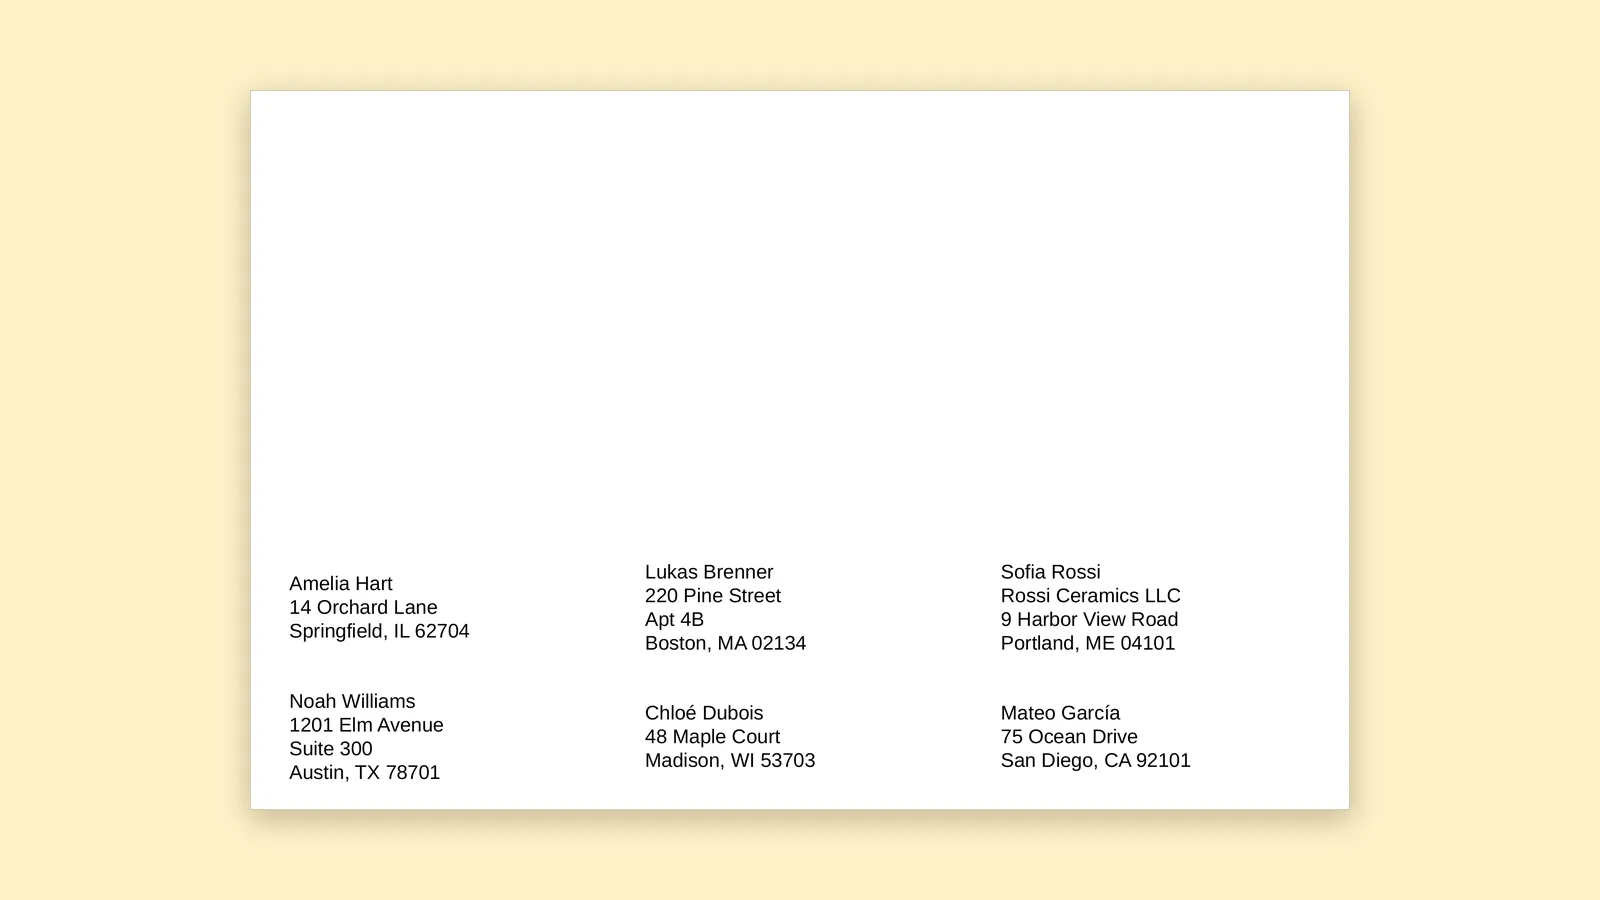
Most drawers have one: a label sheet with a few labels gone and the rest waiting patiently. You peeled a handful for a parcel run, a few more for a jar sale, and now the sheet sits there, too good to bin and too awkward to print on. So it stays in the drawer, and next week you open a fresh pack to print three labels.
That is a quiet little waste, and it is easy to stop. Here is how to print on a partly used sheet from a Google Sheet without the labels landing on empty paper or on top of the gaps.
Why partly used sheets are tricky
A label printer does not look at the sheet. It prints a page, and the page assumes each label is where it should be. If you send the usual first label to the first position and that spot is already empty, your address prints on the bare backing paper, and the labels you wanted are still waiting a row down.
The fix is simple in principle. Tell the tool which label to start on, and it moves the whole run along to begin there, then carries on to a second sheet when the first one is full.
Check which labels are left
Before touching the computer, hold the sheet up and look at it. Note which labels are gone. If the empty spots are in a tidy block, such as the top rows, you are in the easy case. If they are scattered, you can still use the sheet: start at the first empty label and use the labels that follow it, then take a fresh sheet for the rest.
Also look at the edges. A label that is peeling at a corner, or a sheet that has curled, can catch in a printer. If the sheet looks wavy, press it flat under a book for a while, or save it for another day.
Choose your labels, then click the first empty one
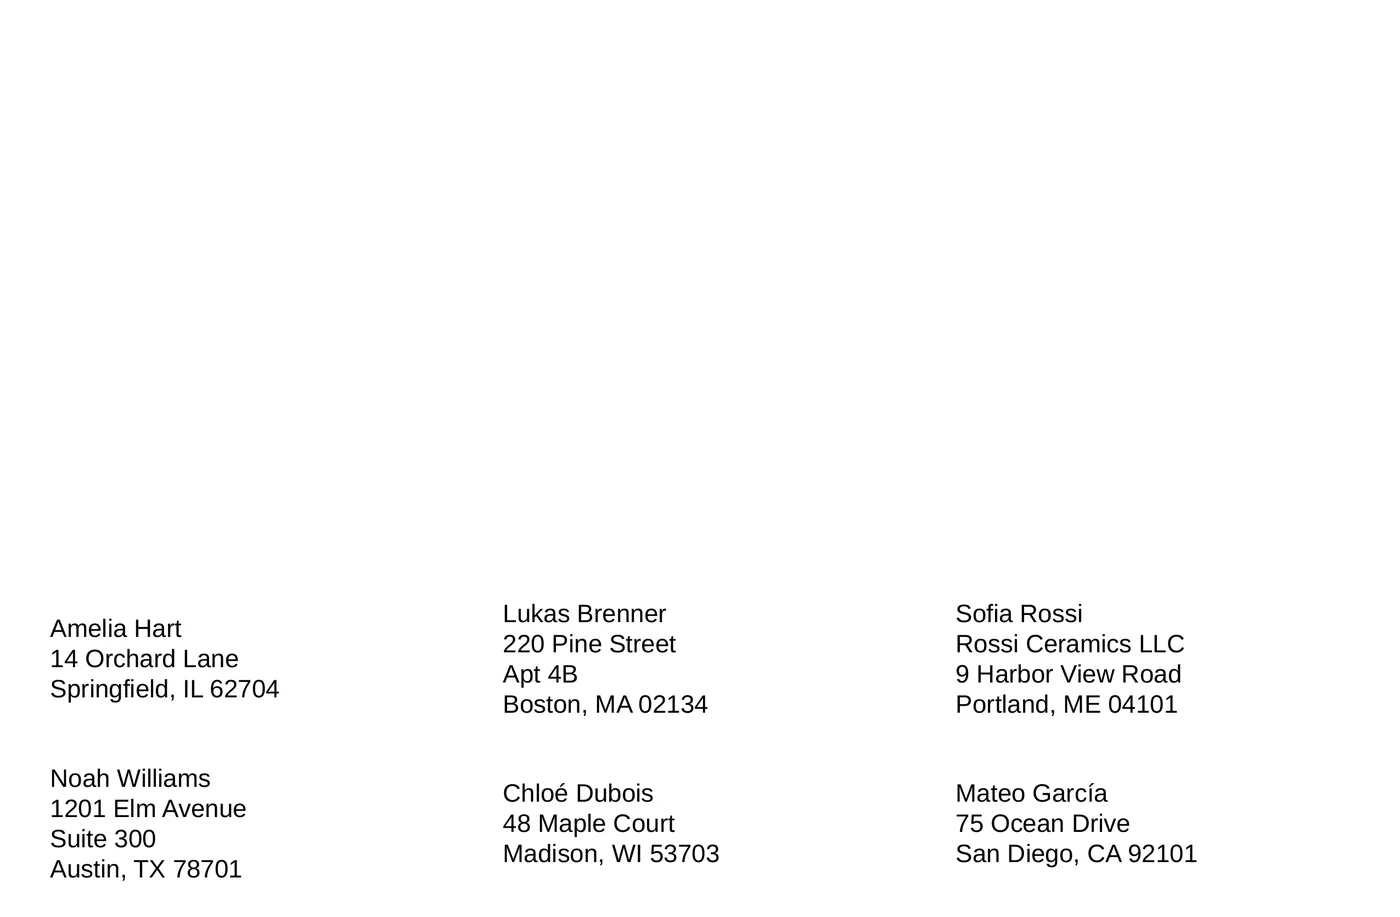
In Peelstack Label Maker you type the number printed on your label box, for example 5160 or L7160, and the layout is set. Then the live preview shows your own rows laid out on a sheet. Underneath it there is a simple instruction for exactly this situation: using a sheet that is partly used? Click the first empty label.
Click the label in the preview where your printing should begin. The summary line under the preview updates to tell you where the run starts and how many sheets it needs. If you change your mind, a button returns you to label 1.
Look at the preview picture and compare it with the sheet in your hand. The labels that are filled in the preview should be the ones still on the paper.
Test on plain paper, then on the sheet
Partly used sheets are just the kind of thing you do not want to waste by guessing, so test first.
- Print one page on plain paper.
- Hold it behind the real sheet against a window, or lay the sheet on top, and see whether the addresses fall on the labels you meant.
- Only then load the partly used sheet.
When you print, choose the right paper size and set the scale to Actual size. Turn off options such as fit to page or fit to printable area, because a printer that shrinks the page a few percent will pull the labels away from their positions.
If the printing lands a little high, low, left or right, print the test page, measure with a ruler, and enter a small offset. Peelstack Label Maker remembers the offset for that paper size, so you set it once.
Feeding the sheet the right way
This is where a printer manual earns its keep. Which side faces up, and which edge goes in first, changes from printer to printer. Print a test page on plain paper marked with a pencil arrow on the top edge, and see which way it comes out. Then copy that same orientation with your label sheet.
Feed a partly used sheet gently and on its own. Do not load it in a stack with fresh sheets, since gaps and lifted corners are a common cause of trouble.
When the run is longer than one sheet
If you have more rows than there are empty labels, the run continues onto a second sheet. The preview has Previous sheet and Next sheet buttons, so you can flick through and check each one.
A few other ways to use up leftovers
- Shorter lists. A leftover half sheet is a good fit for the thank you notes, the sample parcels or the small order that does not justify a new pack.
- Choose rows. You can print only the rows you select, or only the rows your filter shows, which fits a small number of labels well.
- Save the design. Give the layout a name, and next time the same label and lines come back with a click.
- Keep the PDF. If a label sticks or skews, print again from the same PDF and start at the label you need.
The takeaway
A partly used sheet is not scrap. It is a few labels' worth of money and a drawer's worth of guilt. Choose your labels, click the first empty one, test on plain paper, and print at Actual size. The sheet that sat in the drawer for a month goes out with your next batch of mail.
Peelstack Label Maker is coming soon to the Google Workspace Marketplace. Read more about it at taskivator.com/peelstack.
For Google Sheets. Works with Avery and other label sheets. Not affiliated with Google or Avery.
---
Peelstack Label Maker
Keep reading
 Peelstack4 min read
One label per household: a holiday card list you can reuse
Keep your holiday card list in one Google Sheet and print one label per household, with the names joined, then reuse the same list and design next year.
Read the article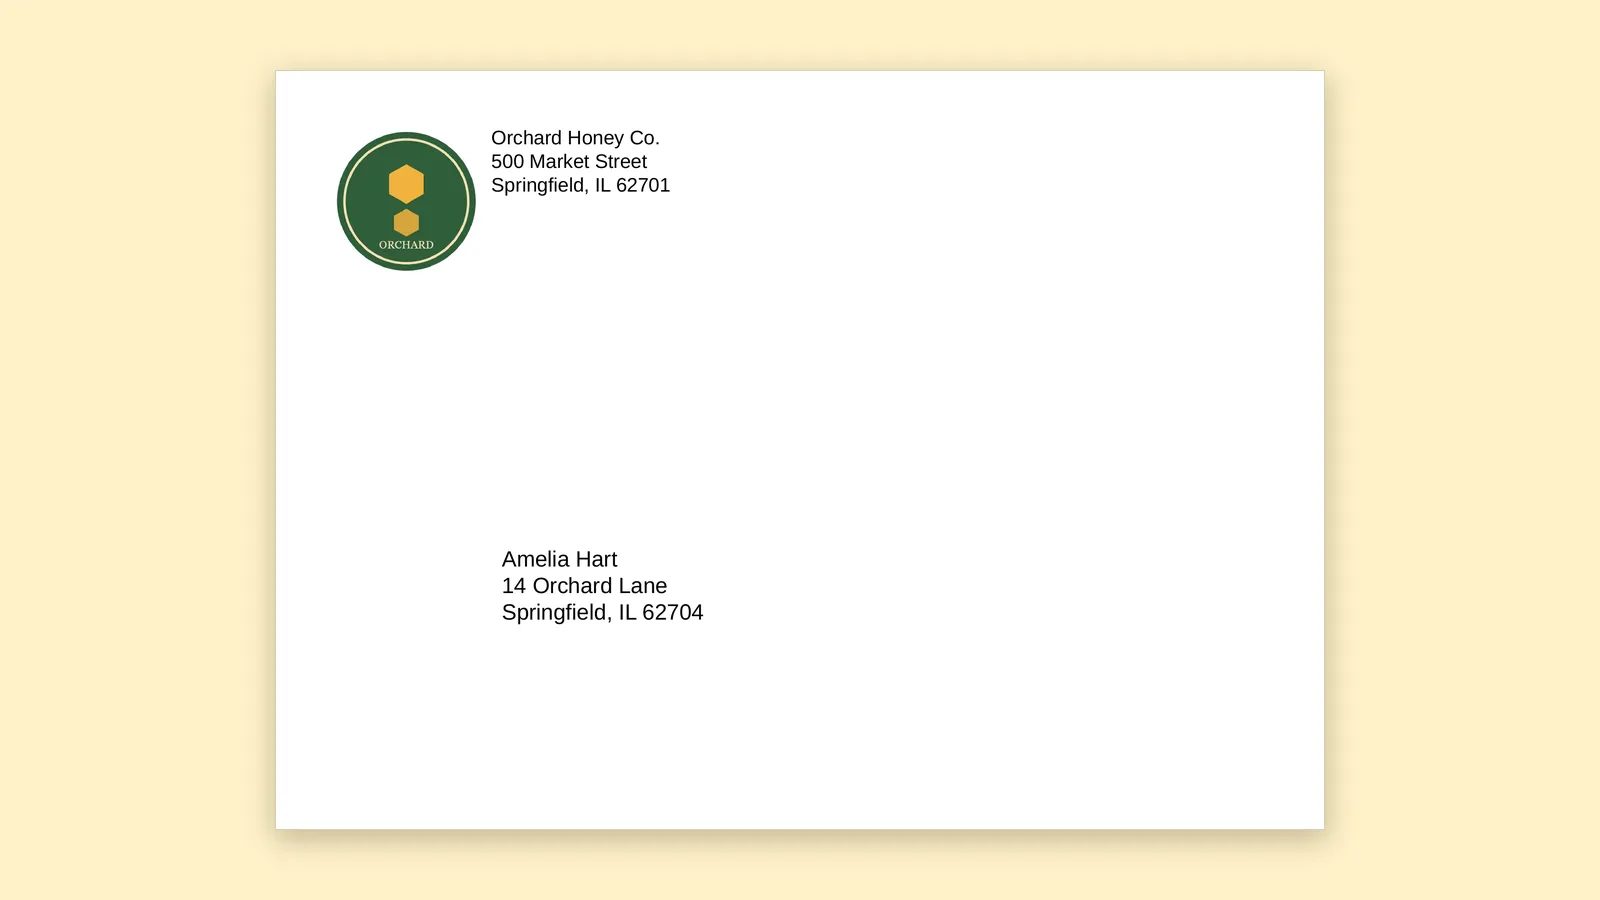 Peelstack5 min read
How to print envelopes straight from a Google Sheet
Turn a list of addresses in Google Sheets into printed envelopes with a return address and logo, and test on plain paper before you use a good envelope.
Read the article Peelstack4 min read
QR code or barcode on a product label? How to choose
A plain guide to picking a QR code or a barcode for jars, boxes and stock labels made from a Google Sheet, and how to test that it scans before you print.
Read the article