

 Peelstack5 min read
How to print envelopes straight from a Google Sheet
Turn a list of addresses in Google Sheets into printed envelopes with a return address and logo, and test on plain paper before you use a good envelope.
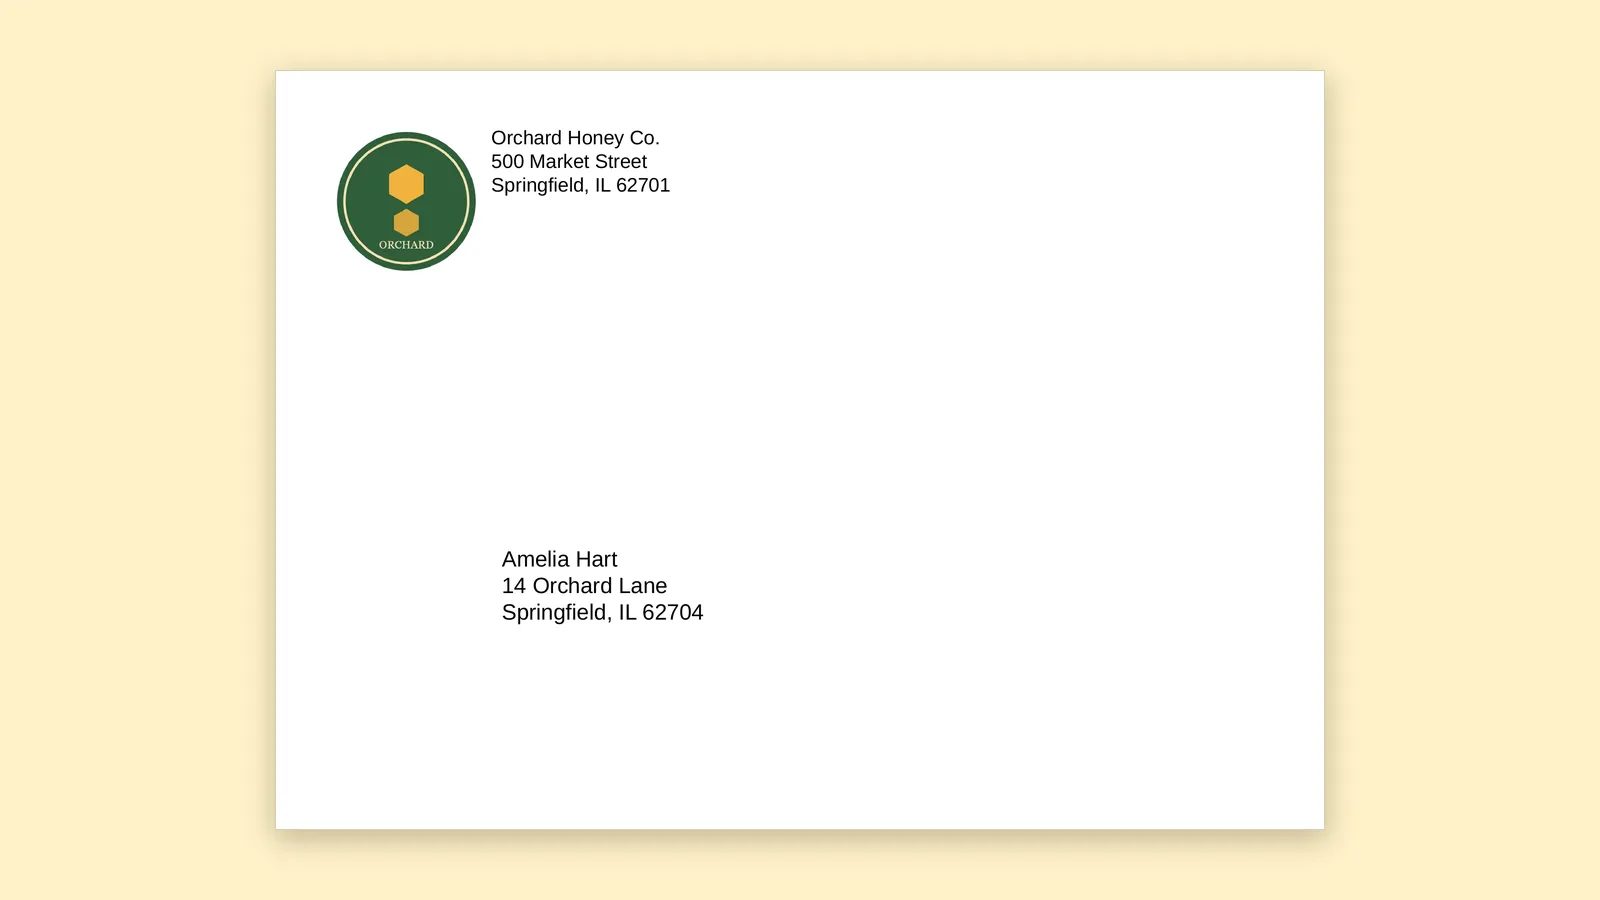
There is a small moment of dread that comes with a stack of blank envelopes. You know the list is ready. It sits in a Google Sheet, tidy, one person per row. And yet the next hour looks like this: copy a name, paste it into a document, nudge it to the right spot, print, wince, repeat. By envelope five you are negotiating with yourself about whether a handwritten address would be quicker.
It would not be, and you do not have to. A list that already lives in a sheet can become a run of printed envelopes, each with its own recipient and the same return address in the corner. Here is how to do it calmly, and how to avoid the classic mistake of finding out the address landed upside down on the good paper.
Start with a sheet that behaves
Envelope printing is only as tidy as the list behind it. Give your sheet a header row and one recipient per row. Column names such as Name, Street, City, State and ZIP are ideal, because a good tool reads those headings and guesses which column belongs on which line of the address.
Two quick checks before you go further:
- Look down the Street column for notes that crept in, like "leave with neighbour". Those will print.
- Look at the ZIP column. When a code starts with zero, make sure the sheet shows it with the zero. There is a whole article about that on this site.
Pick the envelope you actually own
Envelopes are not one size. A standard business envelope, a smaller greeting card envelope and a European DL envelope are different shapes, and the address block has to sit in a different place on each. In Peelstack Label Maker you choose the size of the envelope you are holding, and the layout follows it. Your return address goes in the top left corner and the recipient address below it.
Size names are printed on the box or on the flap, for example #10, A2, A7, DL or C5. If yours is not obvious, measure it and compare with the size on the box rather than guessing.
Add your return address, and a logo if you like
A return address matters more than people think. It is how a misdelivered letter finds its way back, and it quietly tells the person opening the mail who it is from. Type it once and it appears on each envelope in the run.
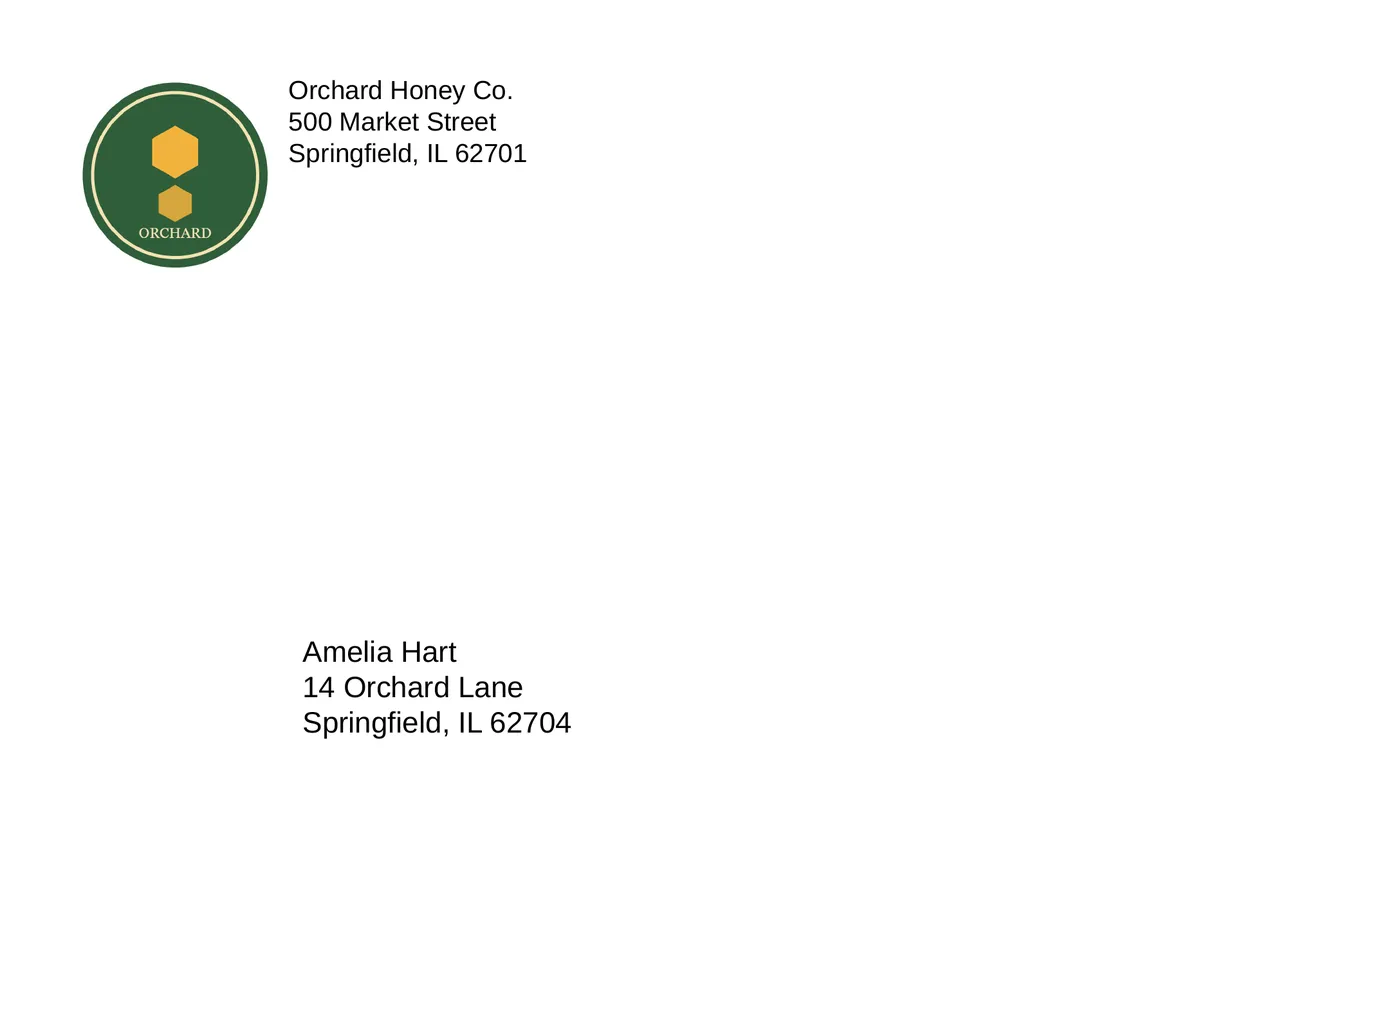
If you have a logo, such as a shop mark or a club badge, you can add it beside the return address. Keep it small and simple. A tidy round or square mark works well. A detailed picture with fine lines can turn muddy on a home printer, so preview it before you commit.
Look at the preview before you print anything
This is the step that saves envelopes. Peelstack Label Maker shows a live preview that uses your own rows, so you see the real names and the real addresses on the real envelope shape. Click through a few envelopes. Pay special attention to the awkward ones: the longest name, the address with an apartment line, the recipient with a name in another alphabet.
If your return address is too long for its corner, the preview tells you it was shortened, so use fewer or shorter lines. If a recipient looks cramped, shorten it in the sheet and look again.
Do the plain paper test
Do not feed the good envelopes in first. Print one envelope on plain paper, or on a spare envelope, and check it. Home printers differ in how they grab and feed an envelope, and the safest way to learn how yours behaves is to let it make its mistakes on something that costs nothing.
Before you print, check the dialog:
- Choose the envelope size as the paper size.
- Set the scale to Actual size, and turn off an option that says fit to page or fit to printable area. A printer that quietly shrinks the page will move your addresses.
- Put the envelopes in the way your printer manual shows. This is the part that varies the most between printer models, so trust the manual over a general guide.
If the address lands a little high, low, left or right, you do not have to redo the design. Print the test page, measure from the envelope edge to the printed box with a ruler, and enter a small offset. Peelstack Label Maker remembers that offset for that envelope size, so next time the same size prints in the right place without another round of fiddling.
Print the run
When the test envelope looks right, you can choose which rows to print. You can print the whole list. If you have selected some rows, or your filter shows only some of them, you can print just those. That is handy for a holiday card list, where the family section goes out this week and the office section next week.
Open the PDF, print at Actual size, and watch the first couple of envelopes come out before you walk away. It is the same advice a sign painter would give: check the first one, then relax.
A few small habits that help
- Keep a copy of the PDF. If one envelope jams, you can print just that row again.
- Save the design by name. Next year you can open it again instead of starting over.
- Use the editable copy when you need it. If you want to tweak something by hand, the add on can also give you a Google Doc copy of the result.
- Let the printer rest. Envelopes are thicker than paper. If your printer has a setting for envelopes or heavier paper, use it.
The takeaway
Printing envelopes from a Google Sheet comes down to a short, calm routine: a clean list, the right envelope size, a return address, a look at the preview, one test on plain paper, then the run. Do it once and the hour of copy and paste turns into a few minutes.
Peelstack Label Maker is coming soon to the Google Workspace Marketplace. You can read more about it, with examples of labels and envelopes, at taskivator.com/peelstack.
For Google Sheets. Not affiliated with Google or Avery.
---
Peelstack Label Maker
Keep reading
 Peelstack4 min read
One label per household: a holiday card list you can reuse
Keep your holiday card list in one Google Sheet and print one label per household, with the names joined, then reuse the same list and design next year.
Read the article Peelstack4 min read
How to print on a partly used sheet of labels
Half a sheet of labels left over? Start printing at the first empty label, test on plain paper and use up the whole sheet from Google Sheets.
Read the article Peelstack4 min read
QR code or barcode on a product label? How to choose
A plain guide to picking a QR code or a barcode for jars, boxes and stock labels made from a Google Sheet, and how to test that it scans before you print.
Read the article